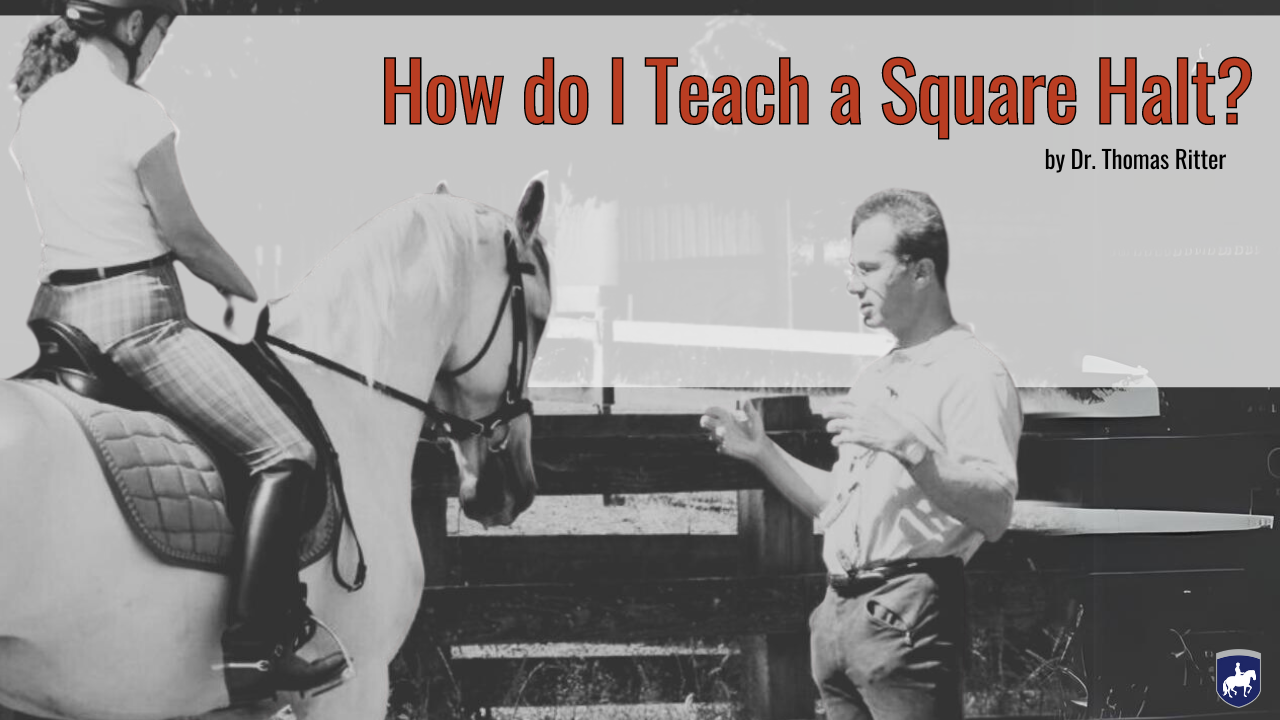
Introduction
A square halt in which both hind legs are underneath the body, the weight is distributed evenly over the support base, and the horse is round, elevated, and light, is something that many riders struggle with. Most horses will leave one hind leg out behind, or they have one front leg farther under the body than the other.
4 Types of Non-Square Halts
There are 4 main ways in which the horse ends up halting not square. They all originate in a lack of balance, a lack of straightness, and a lack of permeability.
1. The horse became crooked in the transition. He either stepped sideways with the front leg of the stiff side and leaned on this shoulder. Or he stepped sideways with the hind leg of the hollow side.
2. The tempo slowed down, so that the horse is a little strung out. If the half halts don’t go through 100%, the horse may slow down in the transition so that at the end the hind leg of the stiffer side stops moving while the other three legs take one or two more steps so that the hind leg of the stiff side ends up out behind.
3. The rider yielded too much or too soon with the reins so that the front legs were able to creep forward at the halt. Many horses will halt pretty well at first. But then they feel that a square halt is work and they sneak their front legs forward an inch at a time so that the horse ends up strung out. Sometimes one front leg is farther out than the other, and sometimes one hind leg takes a step forward because the front legs are essentially walking away from the hindquarters.
4. A hind leg took a step back. Sometimes horses halt perfectly square, but a split second later, one hind leg takes a step back in order to reduce the weight it has to support.
Root Causes
These four types of non-square halts are essentially manifestations of the horse’s crookedness and/or a lack of permeability of the hips and poll.
If a front leg or a hind leg steps a little to one side, it's a sign of crookedness.
If a hind leg takes a step back, it can be a sign of crookedness, or it could be the horse’s attempt to get behind the aids. When the front legs creep forward, it’s a rider error because the rider yielded too much or maybe too abruptly so that the horse stepped forward with his front legs to fill the space that the rider’s hands opened up. Of course, if the rider makes a mistake with her seat, timing and coordination of the aids, the horse won’t halt square, either.
Another important factor is the connection of all four legs to the ground and the weight. If you can reach the ground through all four legs of the horse, the halt will most likely be square. If one or more of the horse’s legs block your half halts and your weight aids, the halt will most likely not be square. This uneven degree of permeability of the four legs is often the result of crookedness as well. Very often one diagonal pair of legs is less well connected to the ground and the weight than the other diagonal. When you have connected the legs that were unavailable, the horse will be much more balanced, much straighter, and much more through than before.
An excellent way of testing the connectivity of all four legs is to practice down transitions from the walk to the halt and later also from the trot to the halt into all four legs. This will reveal which legs are open for your weight aids and half halts and which legs are closed off. At the same time, these transitions connect the disconnected legs. That’s why they are such a useful exercise.
Stop into specific legs
Why
Stopping down into all 4 feet is a great exercise to balance and to straighten the horse. It creates a connection from the rider’s weight through each leg of the horse to the ground. This improves the horse’s permeability for the aids, his balance, his body awareness, his back activity, his suppleness, and his rein contact.
What
You can ride this exercise on straight lines and on curved lines. You can ride it on a single track and in lateral movements. In the beginning I would ride it either on a 20m circle or around the whole school. When you ride it on a circle, you could use the circle points for your down transitions. Since there are 4 legs and 4 circle points, you ride a down transition into a different leg at each circle point.
You can use this exercise for transitions from walk to halt, trot to halt, and trot to walk.
Down transitions from the canter are a little different. We ride canter - trot transitions into the outside hind leg, canter - walk transitions into the inside hind leg, and canter - halt transition also into the inside hind leg.
When you ride a down transition into a specific leg, you send your weight through this leg into the ground, creating a connection between your weight and the ground. This connection can only be established when the horse opens himself up to the aids and allows the aids to travel through this part of his body.
If there are muscles blockages in and around this leg, the aids will not be able to go through. The horse will then drop his back and brace with his body against the half halts.
The weight and the half halts are similar to rainwater flowing from the roof of your house into the gutters, and from the gutters through a pipe into the ground. If the gutters are blocked by dead leaves or if the pipe is clogged, the gutters will overflow and the water will not be able to travel through the pipe into the ground.
These transitions immediately show any lack of throughness, any muscle tightness, and they allow you to pinpoint its location. Through repetition, the horse’s throughness and suppleness increases.
How
Start out with the easiest version of the exercise. Ride walk to halt transitions into each leg. Start with the outside front leg, followed by the outside hind leg, then by the inside front leg, and finally the inside hind leg.
Ride each transition in with 3 half halts in consecutive strides. The first 2 half halts are announcements for the horse so that he can prepare himself for the upcoming transition. The 3rd half halt executes the transition. When you ride the transition, count in your head: half halt, half halt, halt.
The simplest version is to use a stirrup and rein pressure on the same side as the leg that you are targeting.
If you want to stop into the outside front leg, apply a pressure with the outside stirrup and rein when the outside front leg is on the ground.
If you want to stop into the outside hind leg, apply a pressure with the outside stirrup and rein when the outside hind leg is on the ground.
If you want to stop into the inside front leg, apply a pressure with the inside stirrup and rein when the inside front leg is on the ground.
If you want to stop into the inside hind leg, apply a pressure with the inside stirrup and rein when the inside hind leg is on the ground.
If stirrup stepping is too intimidating for now, half halt with the rein and your seat.
When the simple version feels easy, try a more complex variation. For the first half halt, use the rein on the same side. For the second half halt, use the diagonal rein. For the third half halt, use both reins.
In other words, if you want to stop into the outside front leg, apply a pressure with the outside stirrup and outside rein when the outside front leg is on the ground for the first half halt.
Apply a pressure with the outside stirrup and inside rein when the outside front leg is on the ground for the second half halt.
Apply a pressure with the outside stirrup and both reins when the outside front leg is on the ground for the third half halt.
If you want to stop into the inside hind leg, apply a pressure with the inside stirrup and inside rein when the inside hind leg is on the ground for the first half halt.
Apply a pressure with the inside stirrup and outside rein when the inside hind leg is on the ground for the second half halt.
Apply a pressure with the inside stirrup and both reins when the inside hind leg is on the ground for the third half halt.
Conclusion
A square halt requires a certain strength in the horse's core muscles and hind end, which is why they like to try and increase the "wheel base", so that the hind legs don't have to carry so much weight.
Square halts are something that doesn’t necessarily improve by merely riding halt transitions. They will, however, improve if you pay close attention to keeping a steady tempo right up to the halt, keeping the horse aligned properly on the line of travel, and connecting all four legs to the ground and the weight. If you focus on these things, the square halts will develop organically as a byproduct of the overall training. They are not a trick that you put on the horse, but instead they are the result of balance, straightness, and suppleness.

